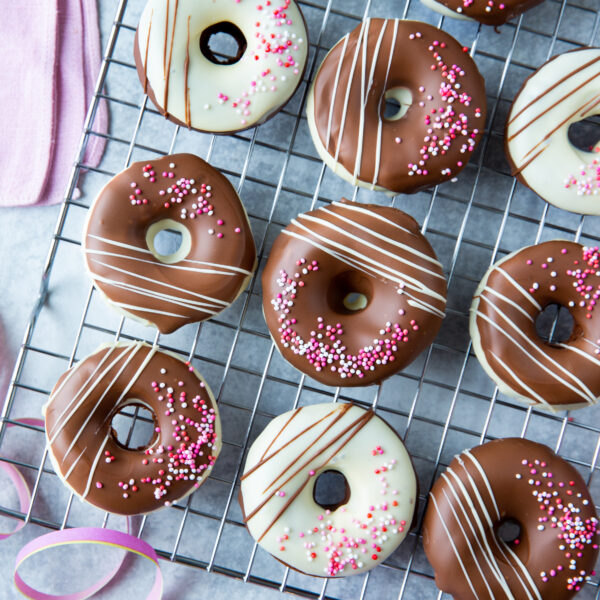
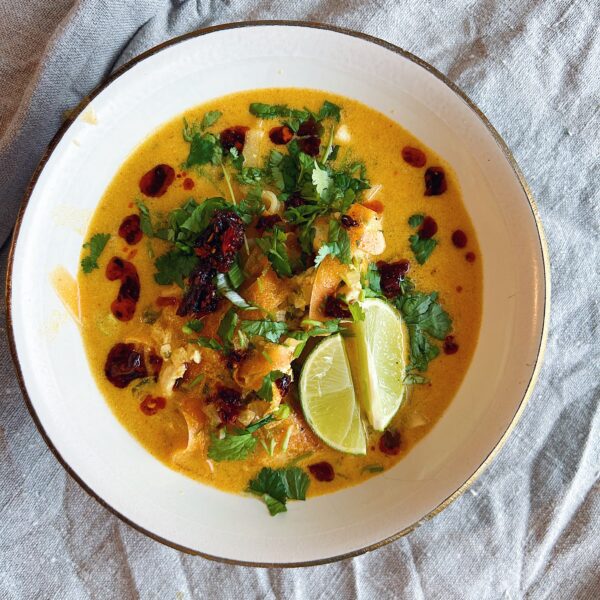
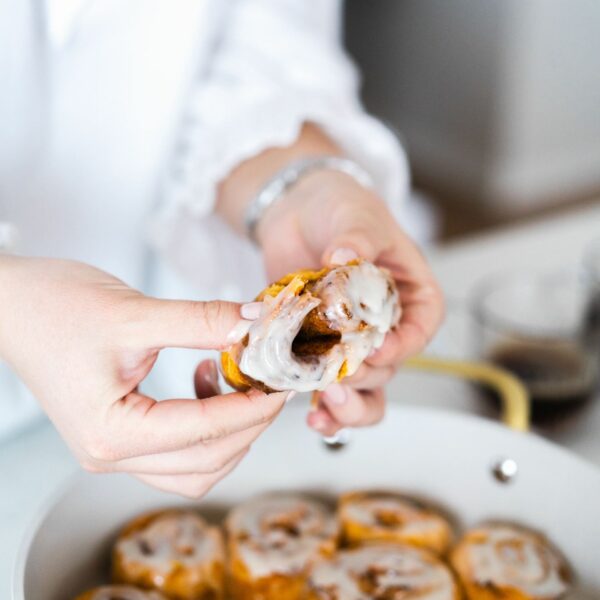
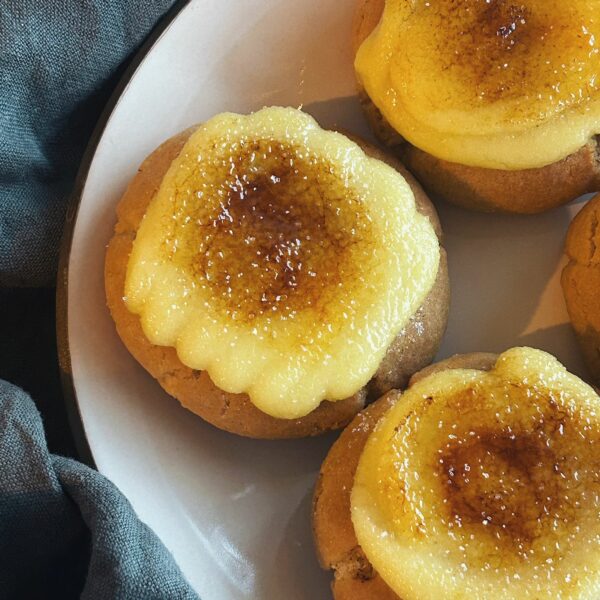
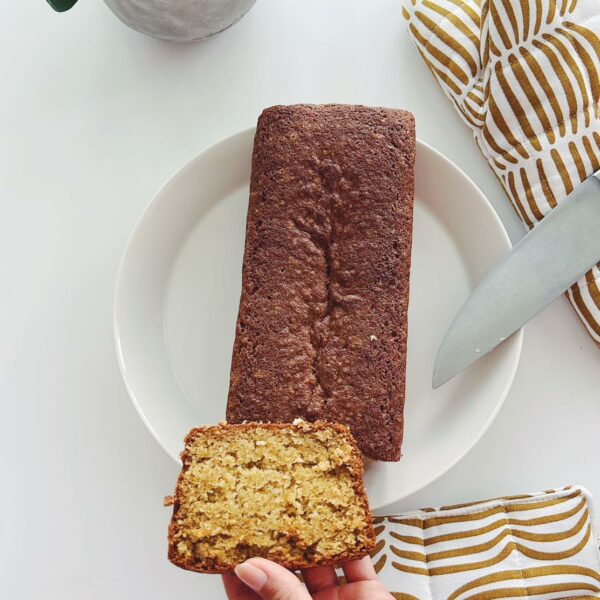
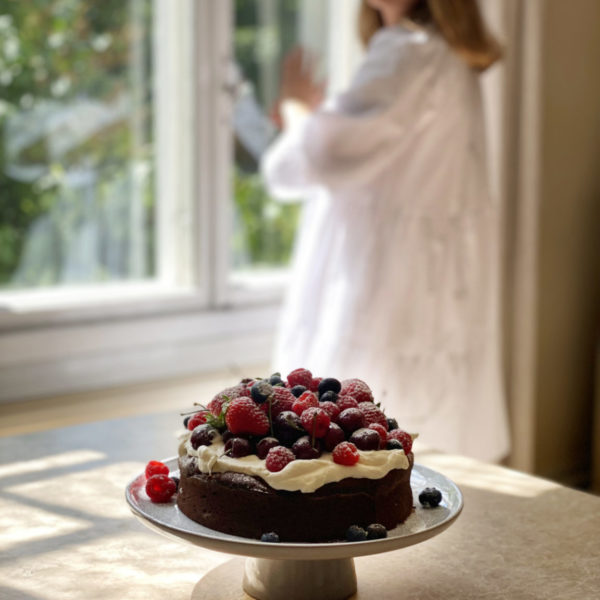
I’ve enjoyed the most delicious cardamom bun in Stockholm once, and have since then tried to find another as good as it was. As I haven’t found one I decided to make them myself. This recipe is one you certainly want to keep saved for years to come!
Cardamom buns
Dough:
5 dl milk
50 g yeast
2 eggs
3 dl sugar
min. 24 g cardamom
2 tl salt
about 16 dl flour
200 g butter
Filling:
225 g soft butter
2 dl brown sugar
24 g cardamom
2 tl vanilla sugar
On top:
1/2 dl water
1/2 dl sugar
n. 1 rkl lemon juice
Zest of 1 lemon
In addition:
1 egg
cane sugar
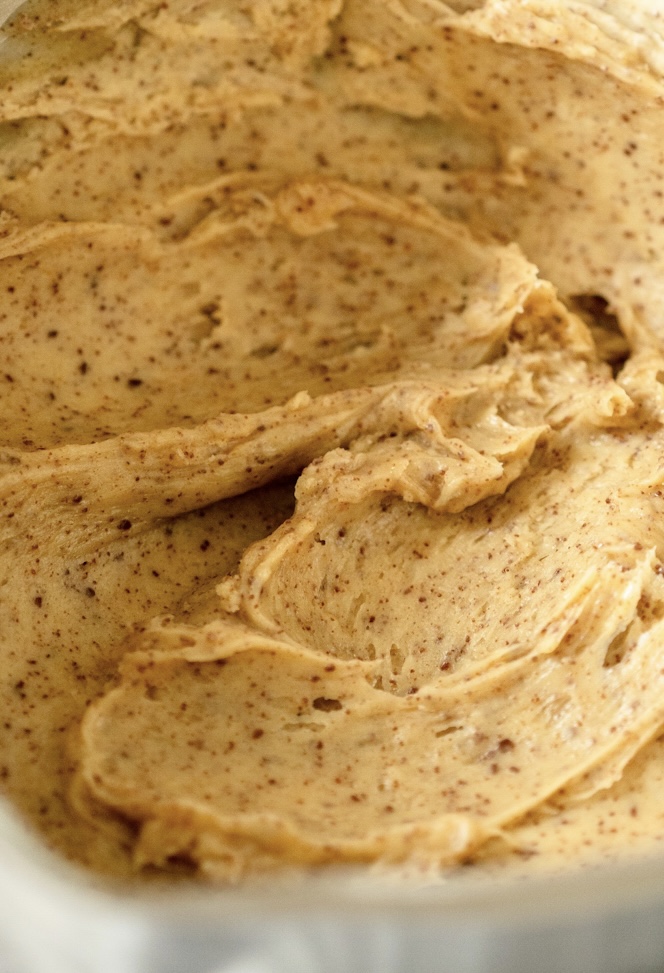
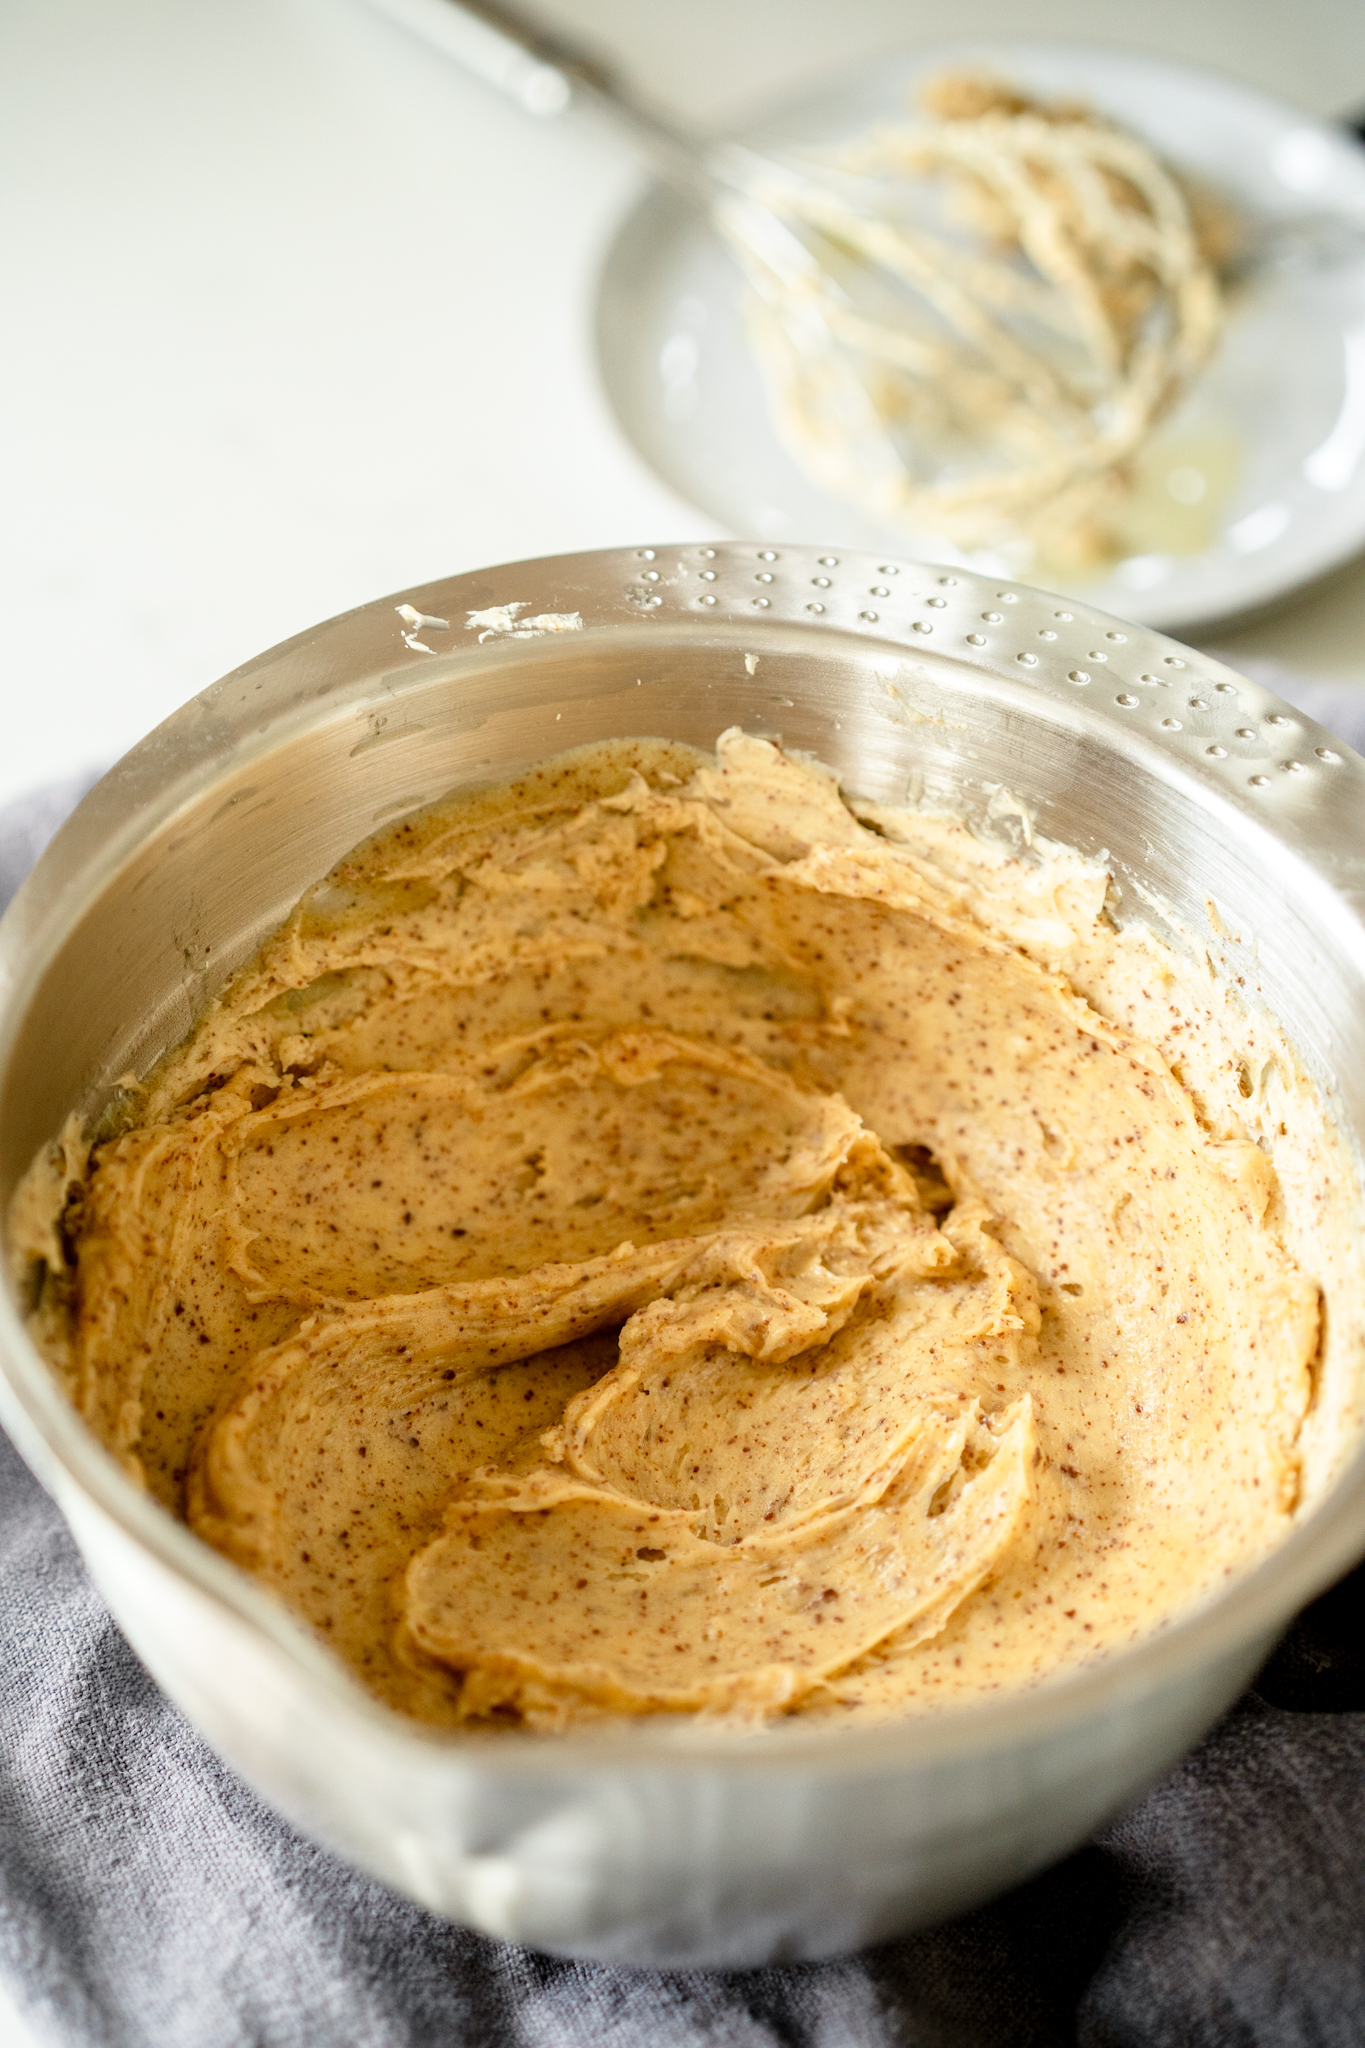
Warm up the milk in a sauce pan. Add the yeast. Add the eggs, sugar, cardamom and salt and mix well.
Add flour in small parts whilst continuously mixing. Add the softened butter at the end of mixing in the flour. Keep kneading until the dough doesn’t stick to the bowl or your hands.
Let rise under a towel for around 1 hour.
Mix the ingredients of the filling in a bowl.
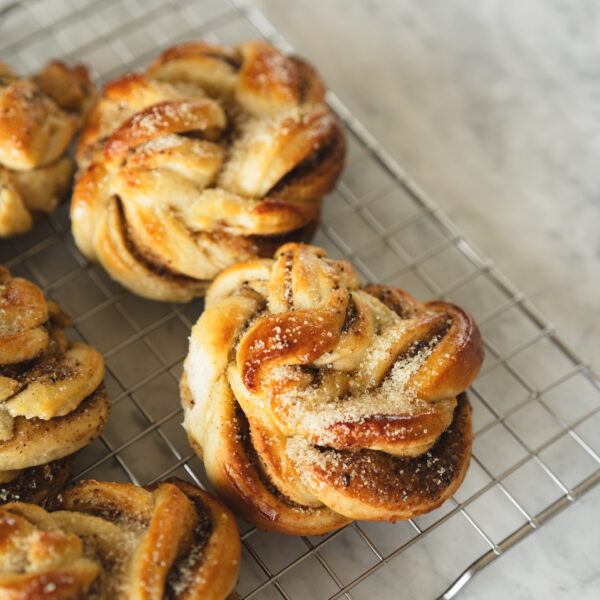
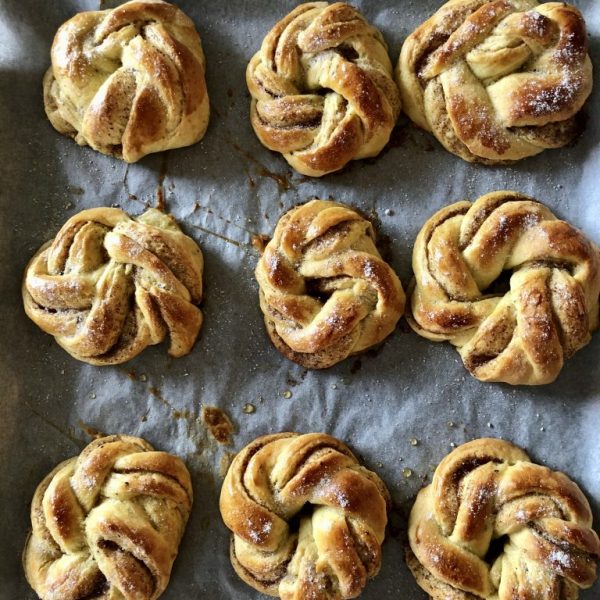
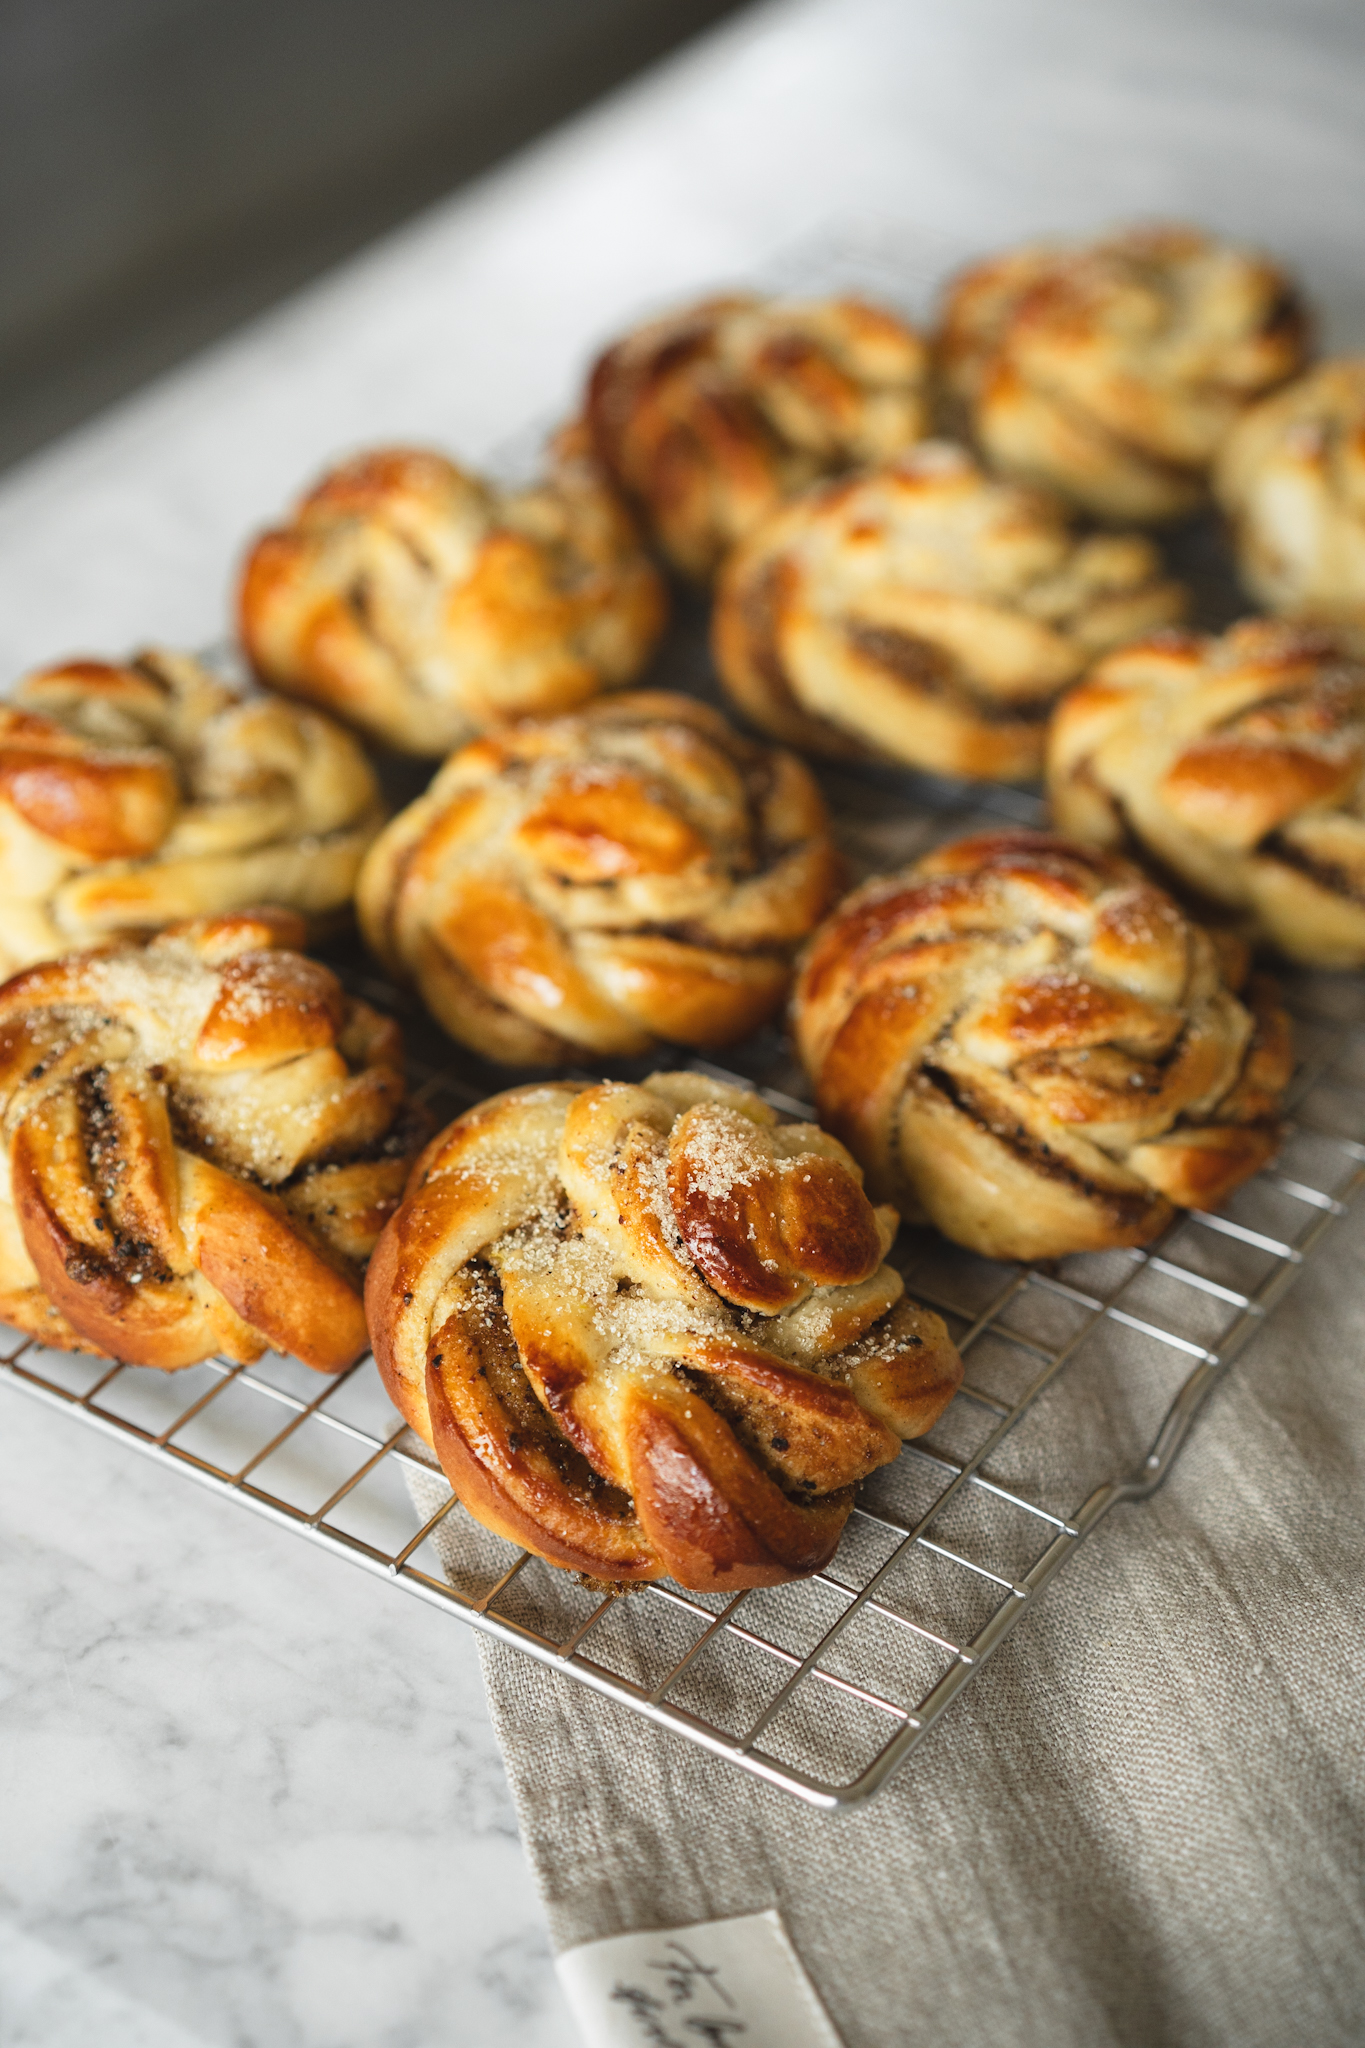
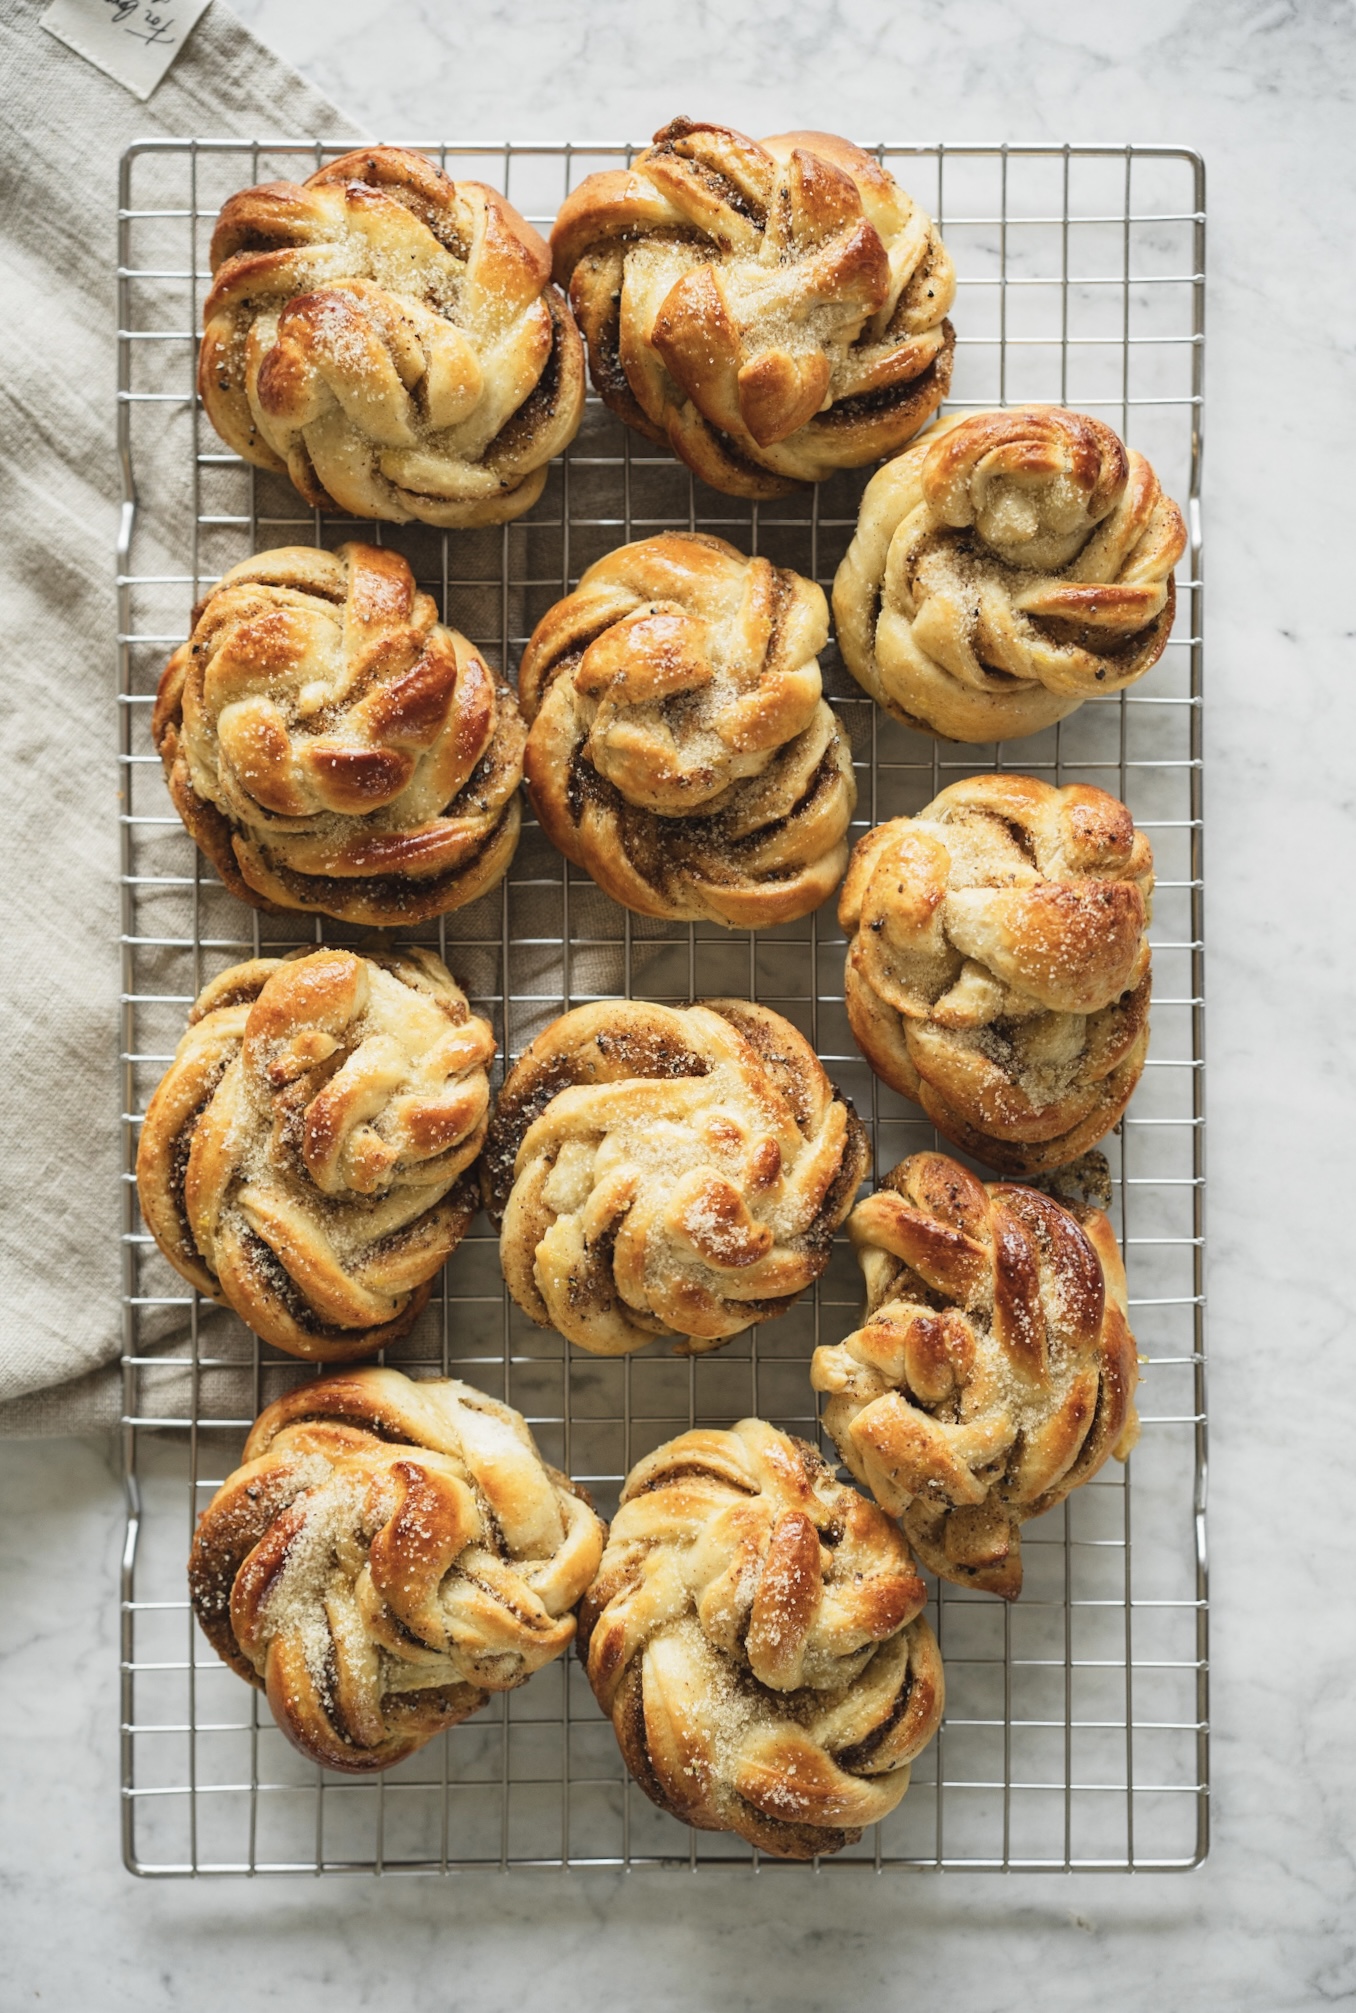
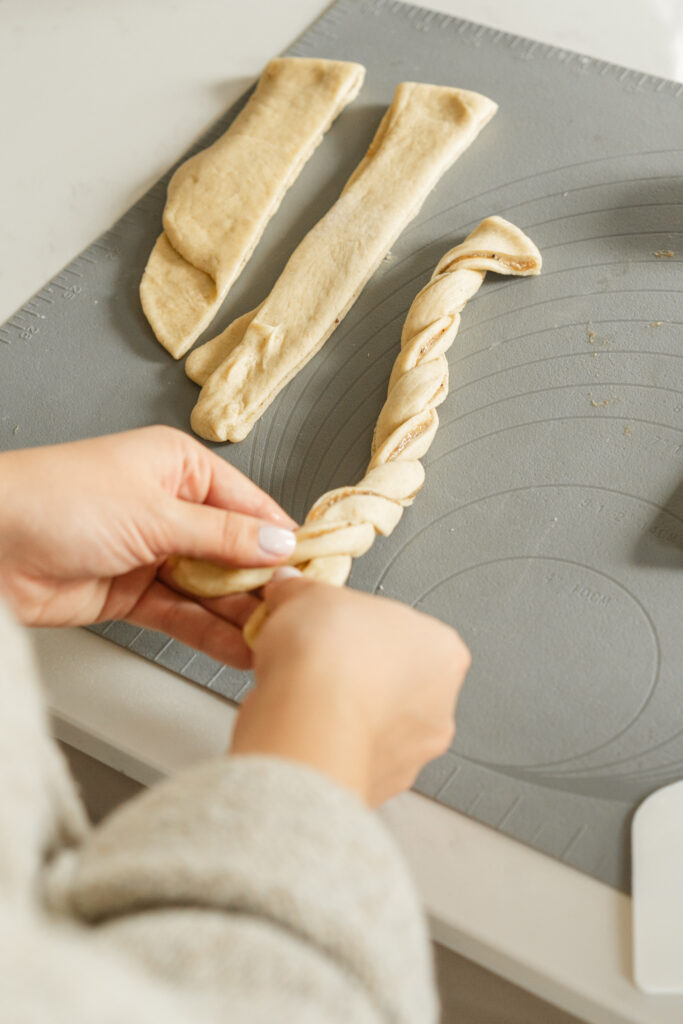
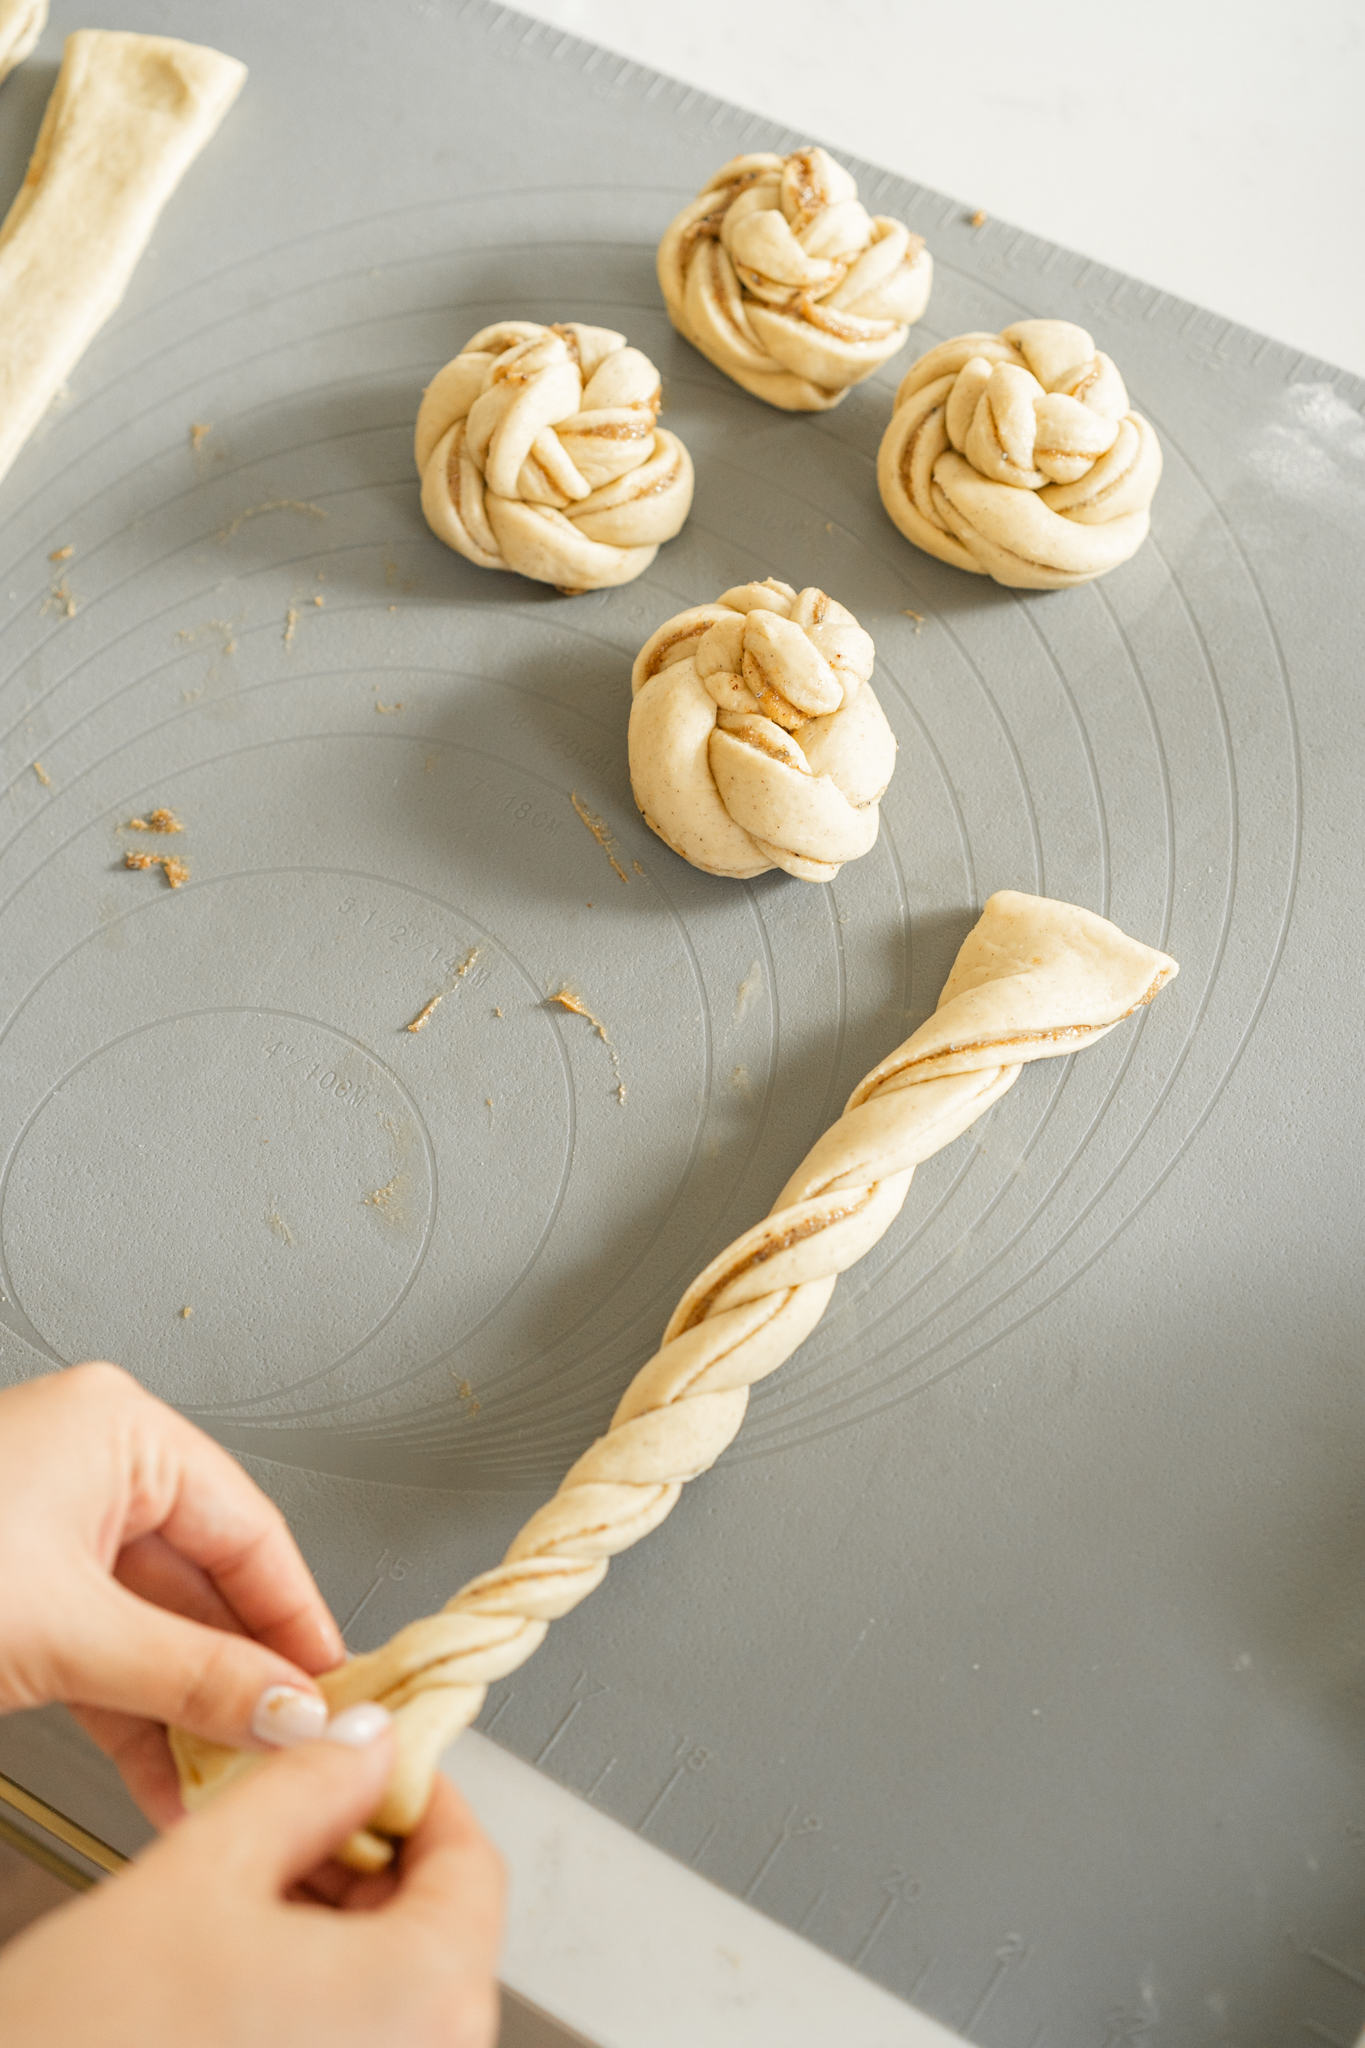
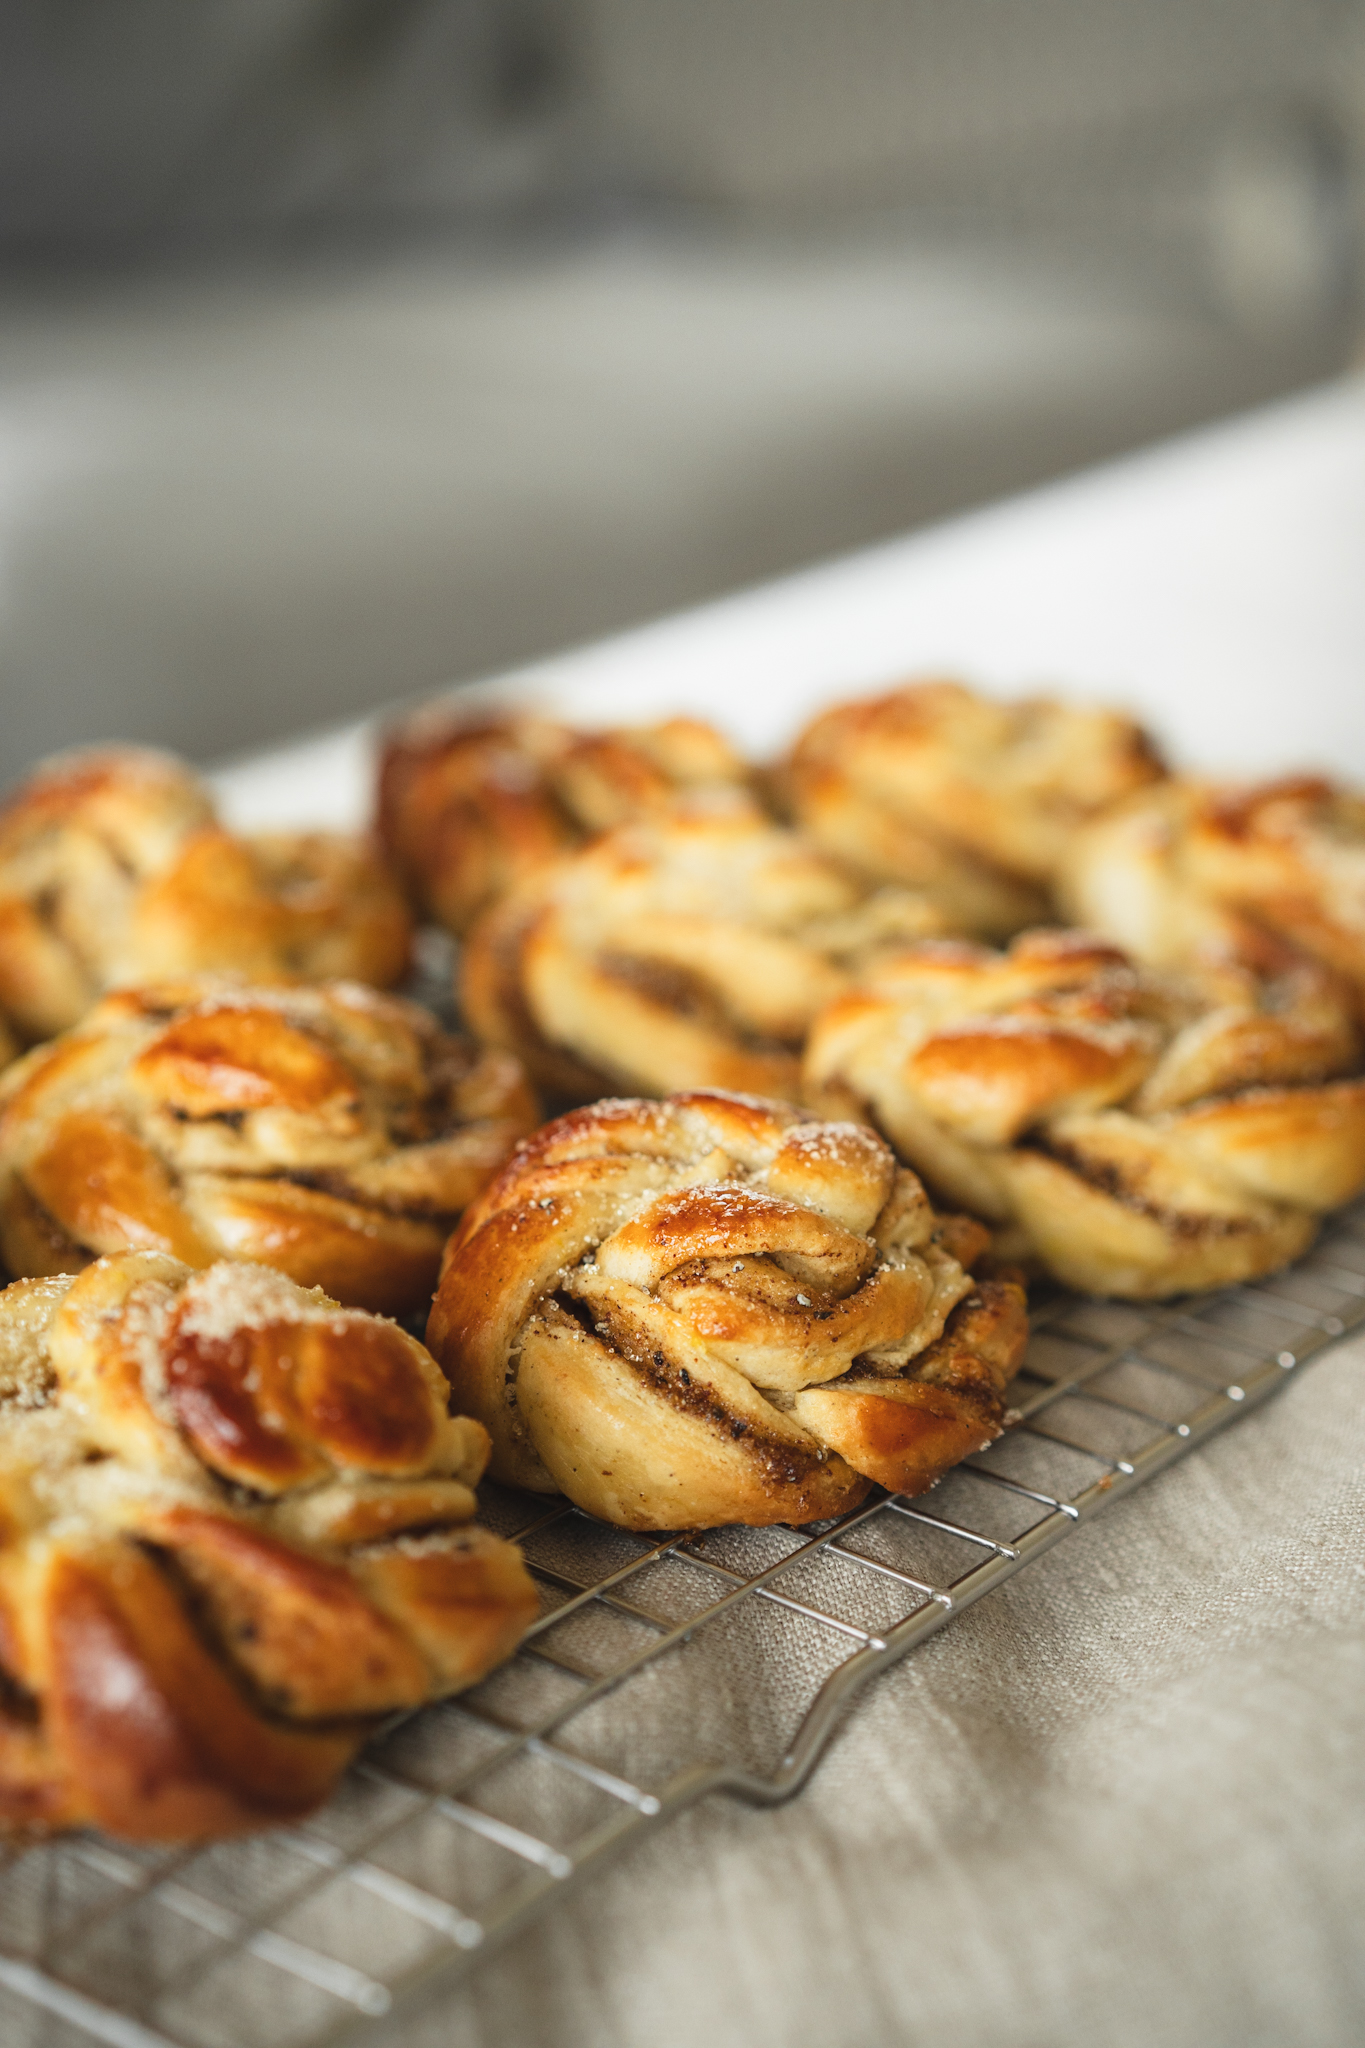
Add some flour on a baking mat. Divide the dough in four parts and roll out as a square, one part at a time. Add 1/4th of the filling and spread with a palette knife. Fold in half. Cut into 2 cm strips. Cut the strips in two, but leave around 1 cm at the top joined. Twist the parts around each other and curl so that the joined ending will be under the bun.
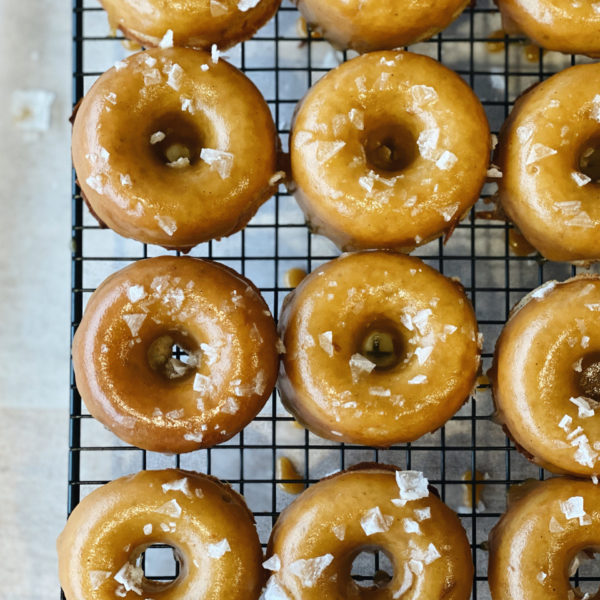
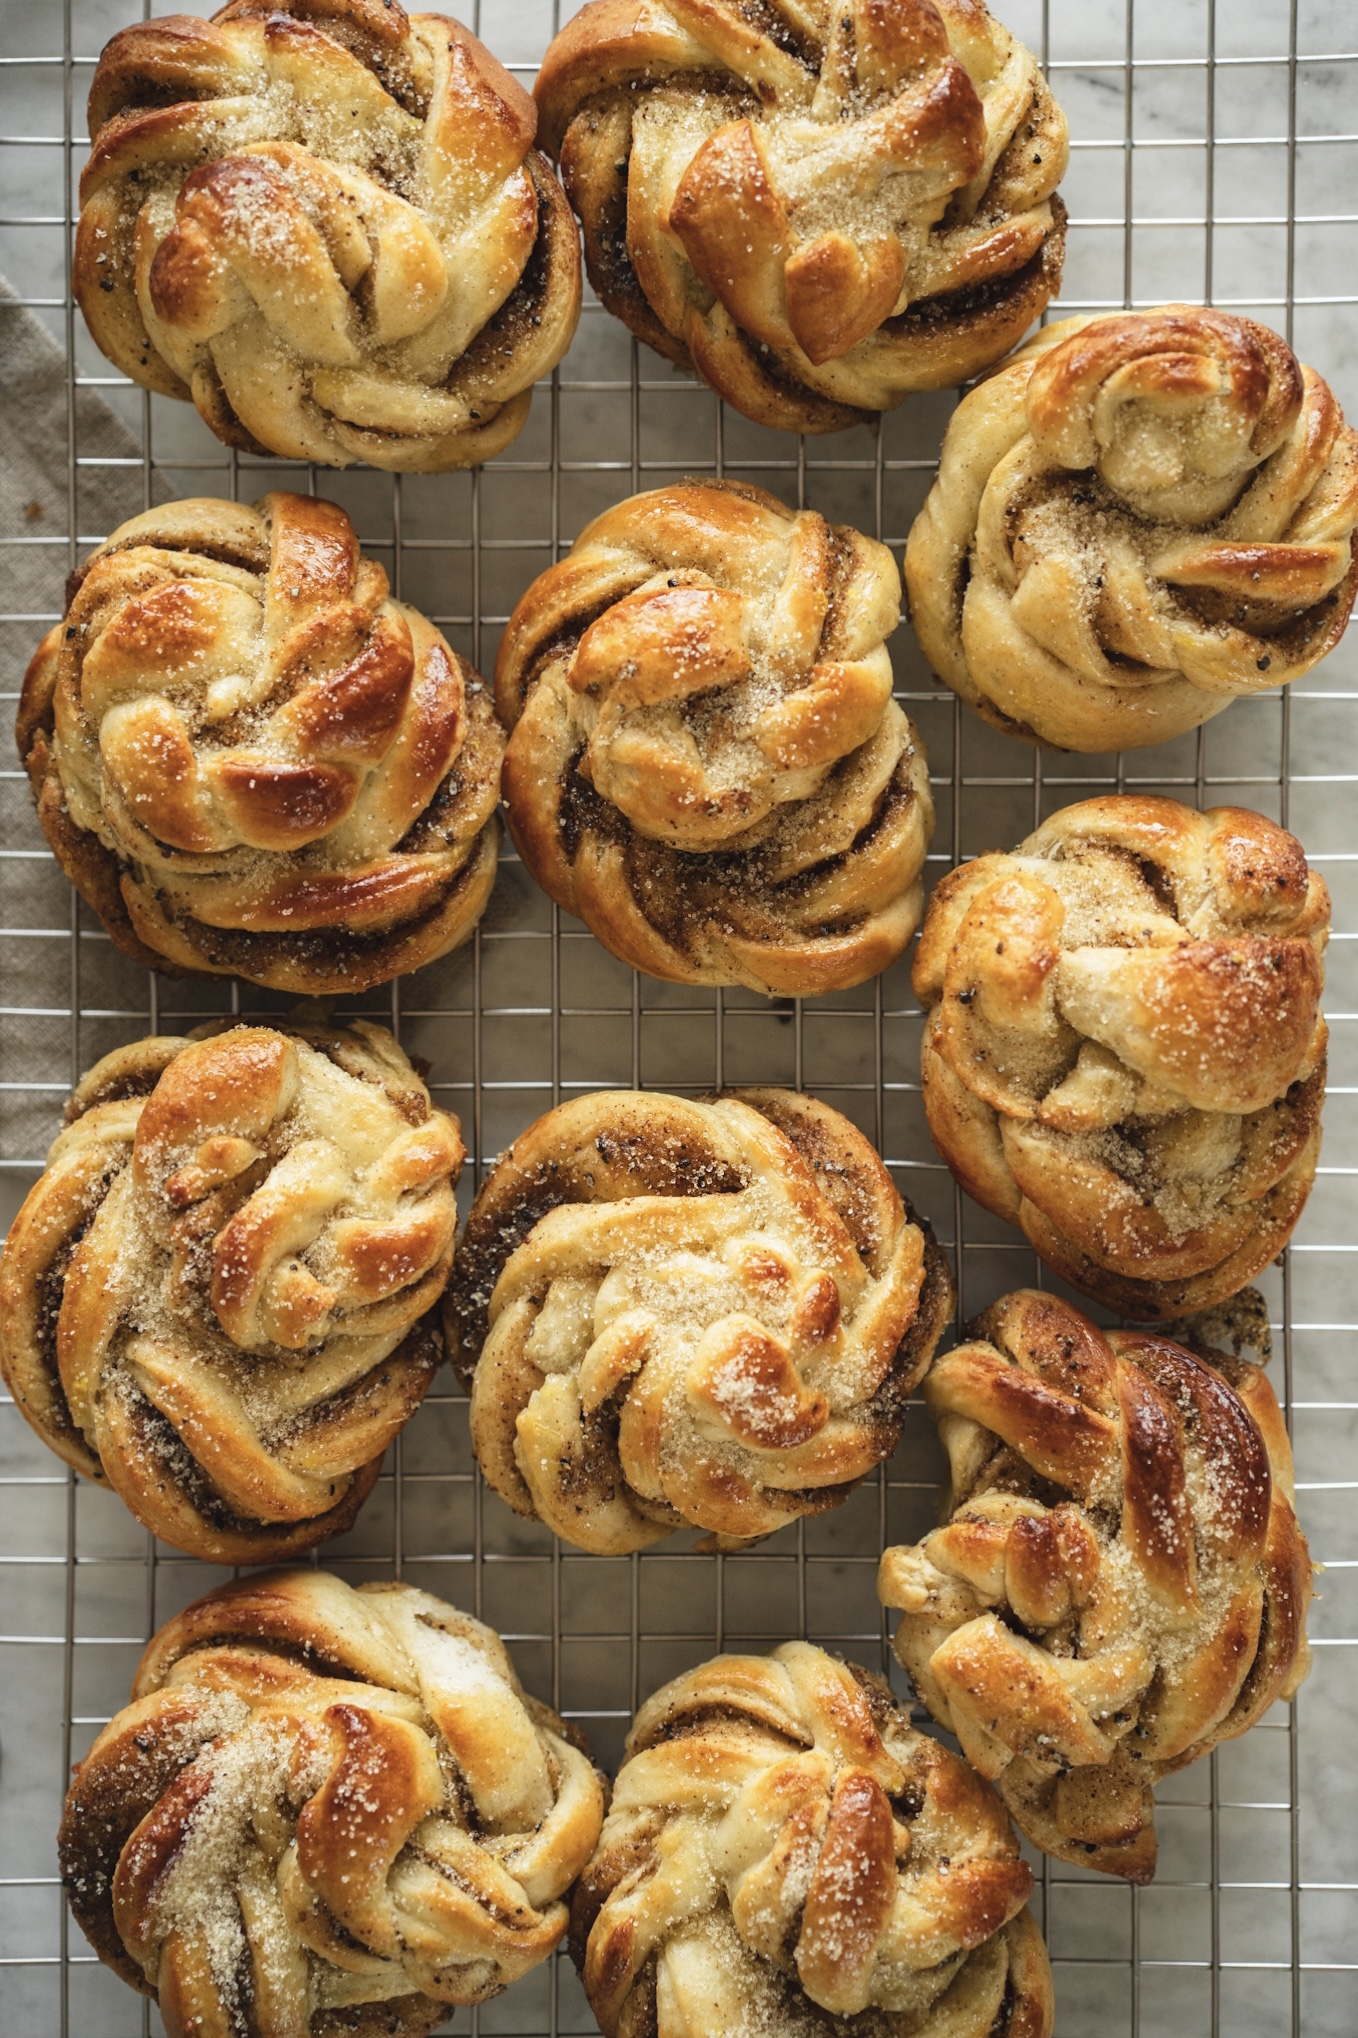
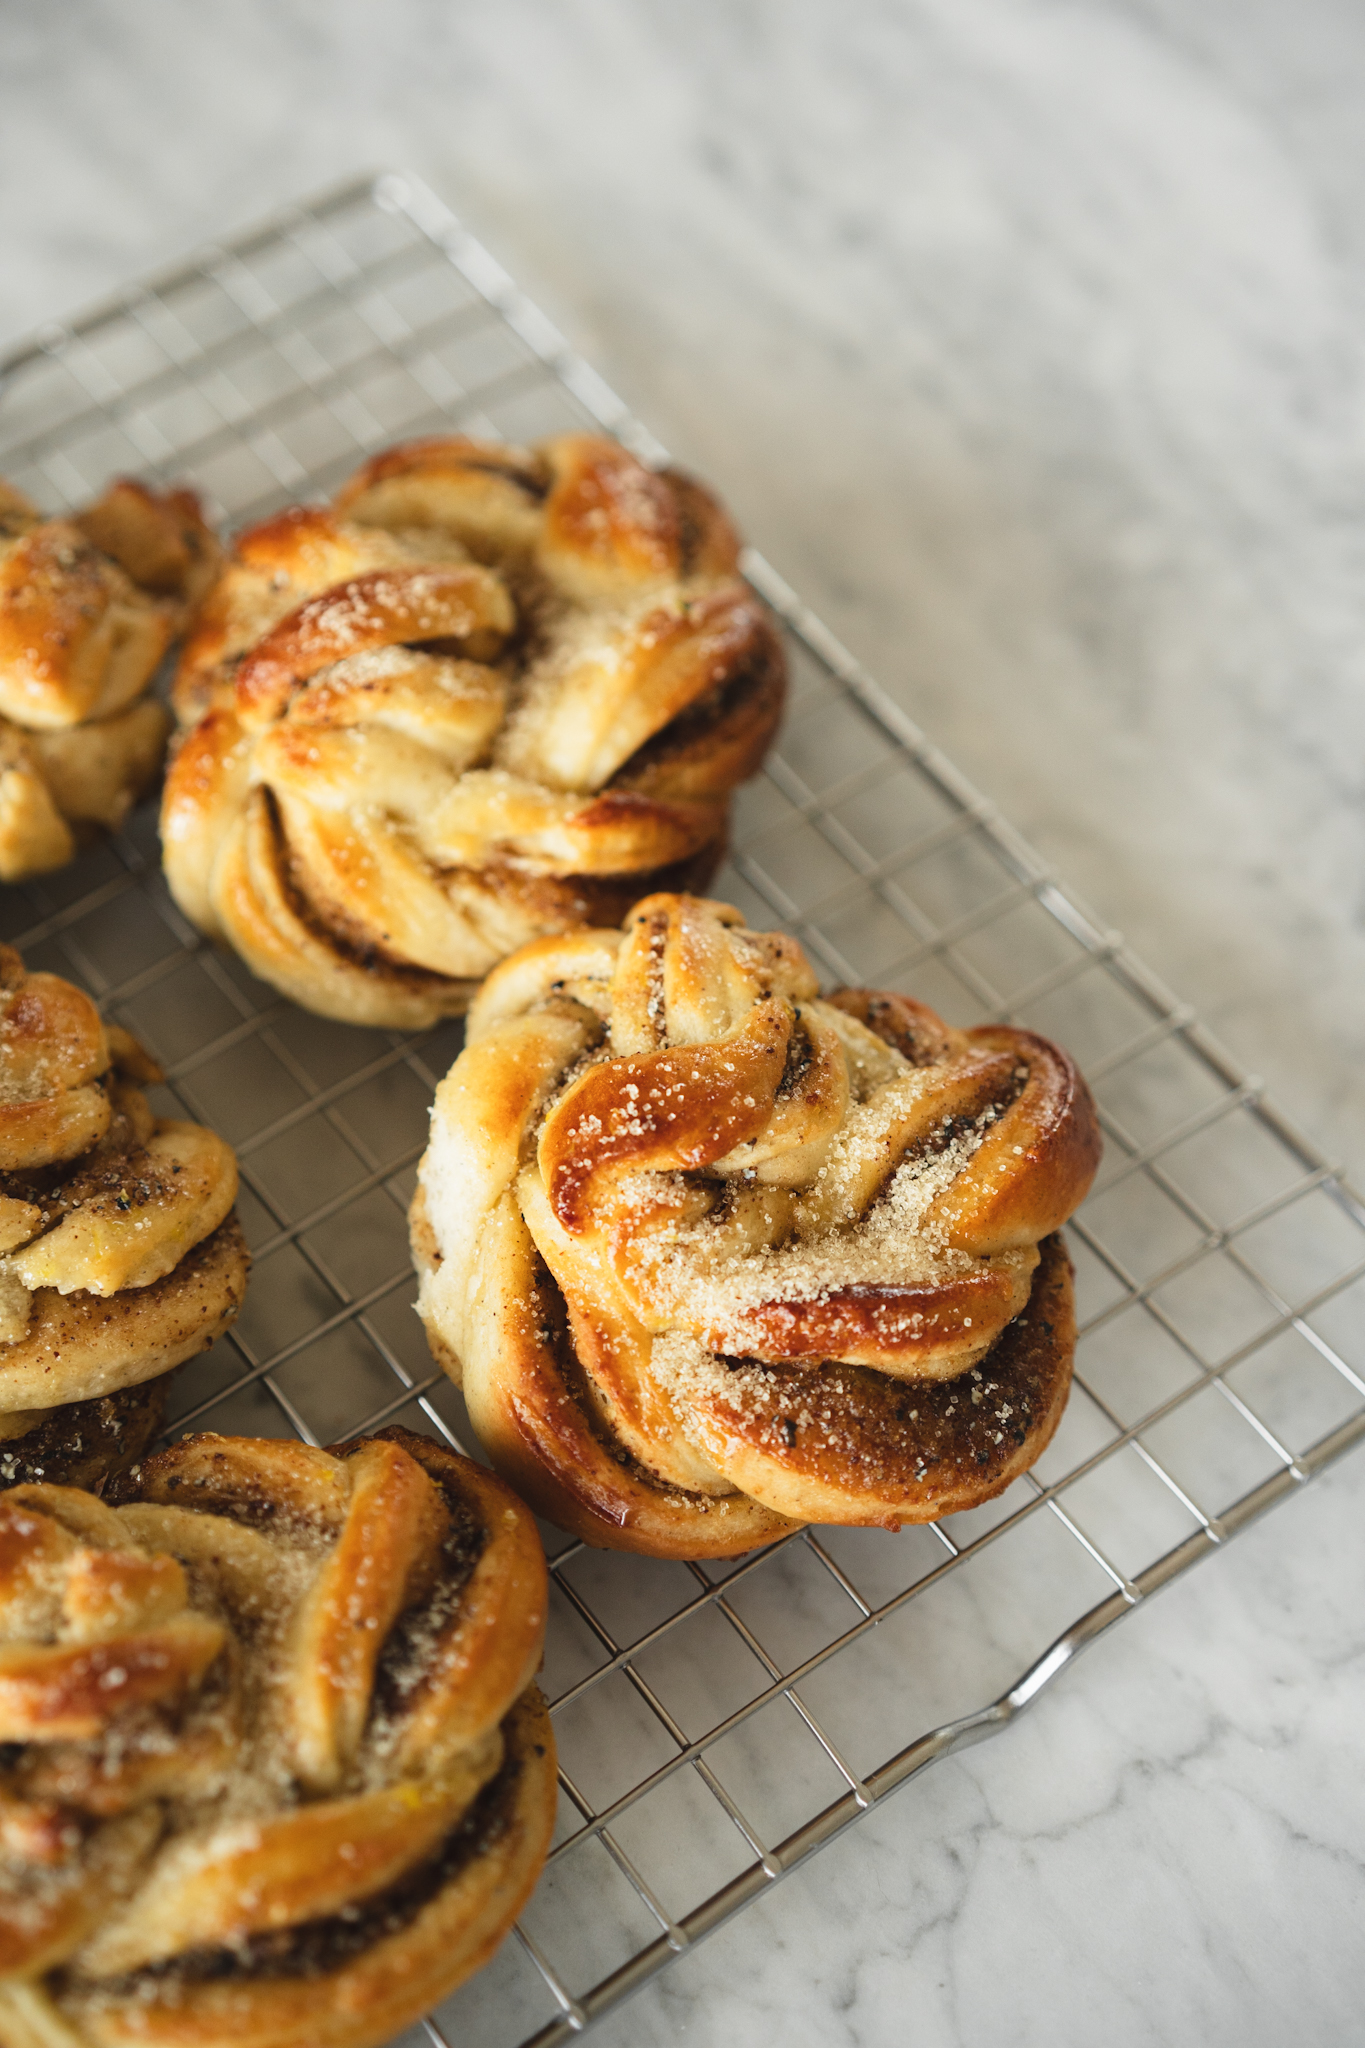
Butter the buns with an egg and bake in the oven at 225 °C for about 10 minutes. I like for my buns to be a little bit soft, so don’t over cook them.
Boil the sugar, water, lemon juice and lemon zest in a sauca pan until the sugar has fully melted. Add on top once the buns come out of the oven. Add a bit of cane sugar on top.
Lift the buns on a cooling rack, this way they will cool down evenly and won’t collect any moisture.
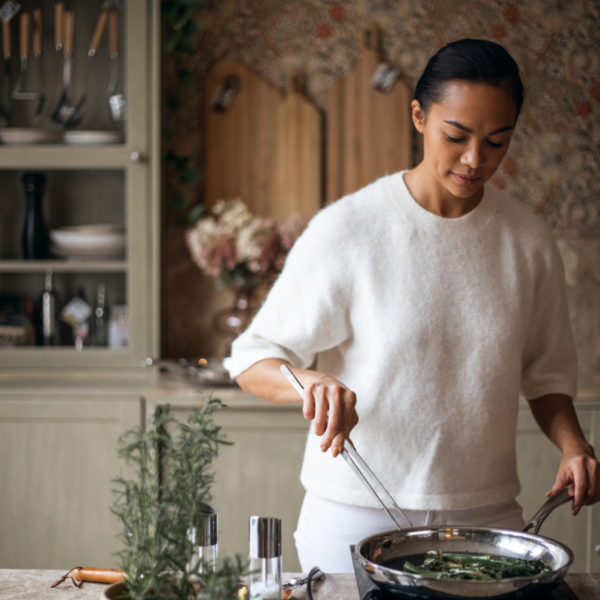
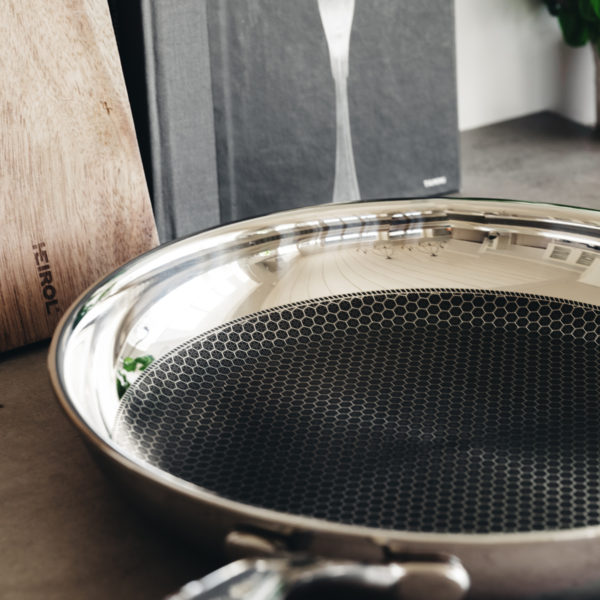
A silicone baking mat is a huge help in baking! It helps you keep your table clean and makes it easy to roll out the dough. I always use a dough scraper in cutting the dough, it’s easy to use and not too sharp that it would damage the mat.

Brown butter
You can also use brown butter in the filling instead of normal butter. Below easy instructions!
Heat up a steel sauce pan. Add the butter and melt over medium heat. Preferably use a light coloured pan so you can see the brown butter better as it cooks. Stir frequently and watch as the butter starts to slowly simmer, then bubble and finally foam on the top layer.
You’ll see the colours changing from yellow to golden yellow to toasted brown with specks of the butter’s milk solids caramelized. Continue stirring to make sure the milk solids are evenly golden and toasted.
Fill a large mixing bowl with ice. The ice helps speed up the cooling process. Place a smaller bowl on top and pour all the browned butter into the small bowl. Make sure you scrape all the brown bits in too. Whisk the butter, as the ice cools the bowl the butter will start to solidify. Store leftovers in a tight jar in the fridge.
I’ve wanted to make brown butter by myself for years already, but for some reason I haven’t got around to it! I found my new favourite Instagram a while ago and saw her reels on the brown butter. After seeing it I didn’t have any reasons not to anymore. So here I am with my brown butter, I’m so proud of it and it is more delicious than it should be. Definitely need to keep myself from eating it all the time…! Haha!

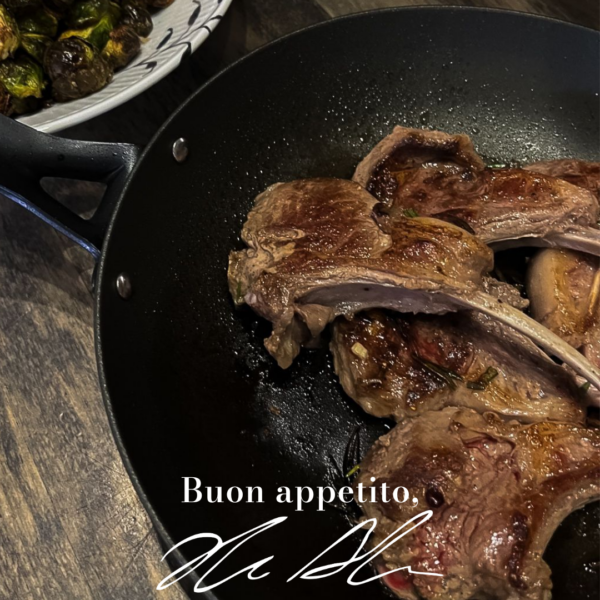
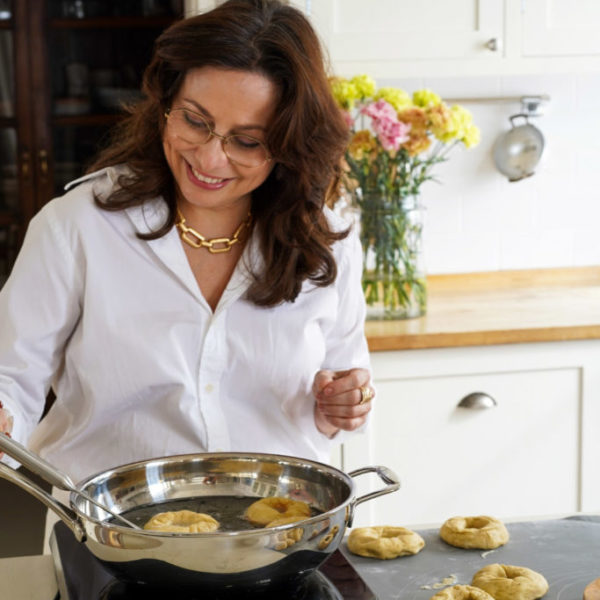
The writer, Alessia Moborg, is a quarter Italian and a quarter Swedish foodie from Turku, Finland. The young world explorer has visited almost all the continents of our beautiful planet and brings along inspiration to her cooking from her travels. Alessia has an eye for aesthetics, which can be seen in her cooking, especially baking. Follow all things beautiful on Alessia’s Instagram.
Read more about HEIROL’s story >>